Active Directory & DNS
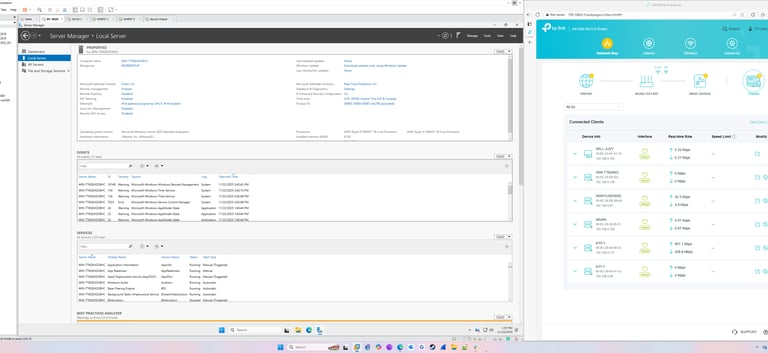
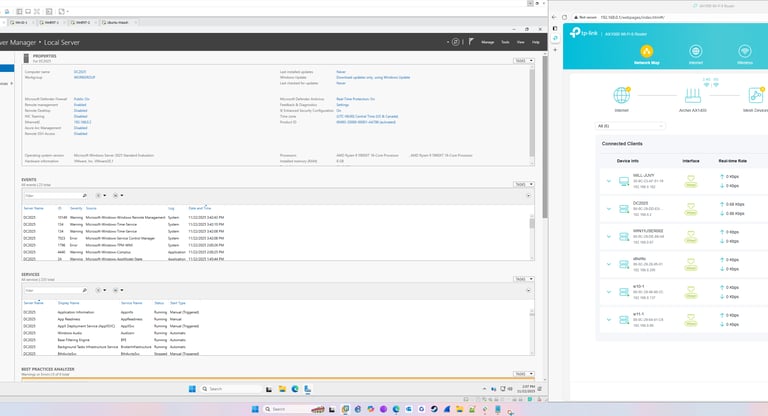
The network is configured with Windows Server 2025 (DC), three Windows clients, and one Ubuntu client configured to use DHCP.
Set up Computer Name
Open Settings
Press to open the Settings app.
Navigate to System > About
In the left sidebar, click System.
Scroll down and select About.
Rename Your PC
Under Device specifications, click Rename this PC.
Enter the new computer name (avoid spaces and special characters).
Example: or .
Restart to Apply
Click Next, then Restart now (or Restart later).
The new name takes effect after reboot.
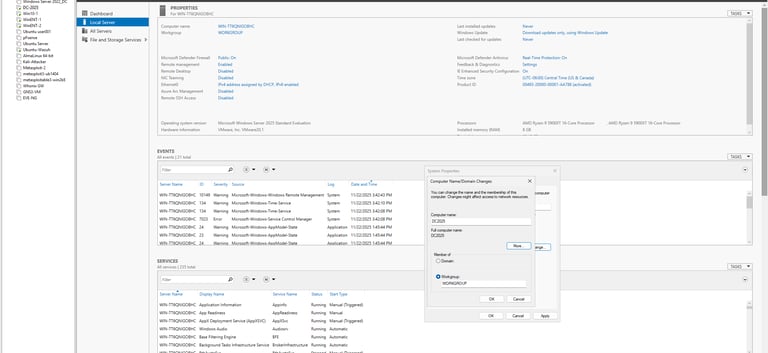
Confirm Computer Name Change & Set Static IP
Press to open Settings.
Go to System > About.
Under Device specifications, check Device name.
It should display the new name you set.
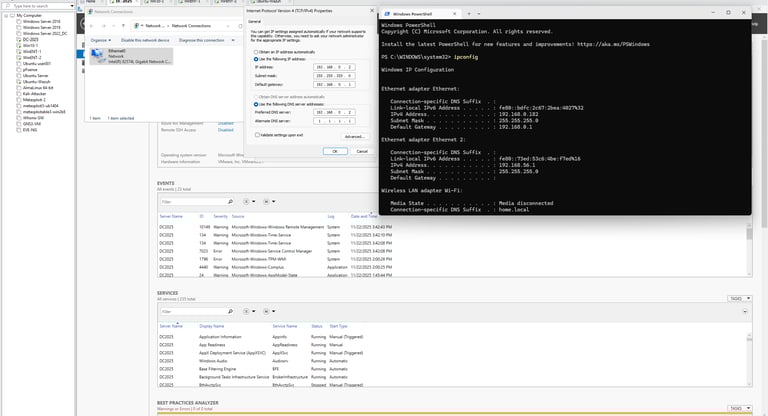
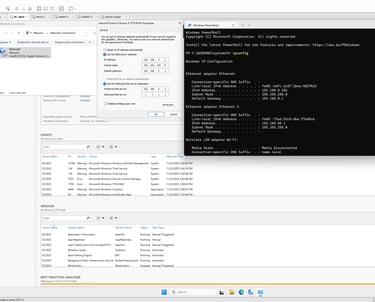
Set a Static IP Address
Press to open Settings.
Go to Network & Internet.
Select Ethernet (or Wi-Fi, depending on your connection).
Click on your active network adapter.
Scroll down to IP assignment → click Edit.
Change from Automatic (DHCP) to Manual.
Toggle IPv4 ON and enter:
IP address (e.g., )
Subnet mask (255.255.255.0)
Default gateway (your router, e.g., )
Preferred DNS (IP is same as the static ip set for the server reference image to left )
Alternate DNS (e.g., )
Click Save.
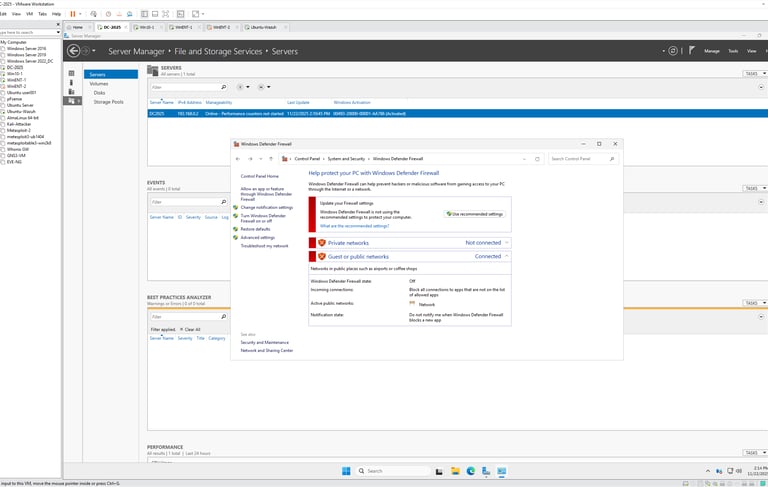
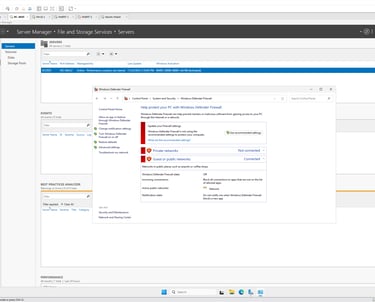
Turn Off Windows Firewall (Temporarily)
Press to open Settings.
Go to Privacy & Security > Windows Security.
Click Firewall & network protection.
You’ll see three network profiles:
Domain network
Private network
Public network
Select the active network (usually Private if you’re at home/lab).
Toggle Microsoft Defender Firewall → Off.
Confirm the change.
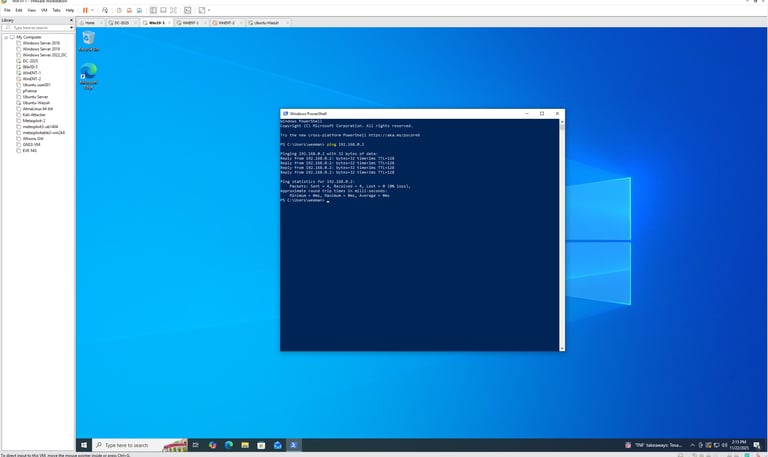
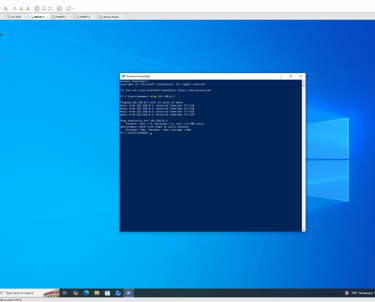
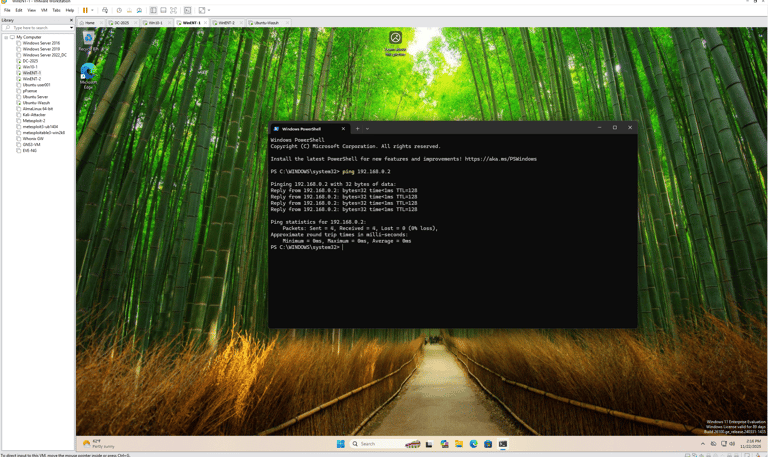
Confirm Communication Between Clients and Server
Using ipconfig check:
[ ] Client can ping server by IP
[ ] Server can ping client by IP
[ ] Optional: Ping by hostname works
[ ] Gateway responds to ping